Search This Blog

Friday, June 26, 2015

Vegan Cheesecake

This one goes out to my niece and nephew.

OK, so I know I said I wasn't ever going to do this.  That the notion of substituting ingredients for the sake of avoiding animal products isn't wholly necessary, and that we should all just be content to make new dishes that just don't necessarily include animal products.  

I've said it before, and I do believe it.  It's not that I prefer the animal product version of foods better, it's more just that I feel the non-animal product versions should be able to stand on their own!

Why not, in fact?

And so it is the case with these vegan desserts, that I don't even really want to call 'cheesecake', because that's erroneous and misleading, and doesn't do justice to EITHER cheesecake nor this delicious and ultimately free-standing vegan dessert.

Really, these should just be called cashew coconut dessert tarts, and they (and we) should be totally fine to label them as such!!!

Anyway...

:)

So, this recipe is actually fairly involved, and this took me significantly longer to prepare than I expected.  Even without any 'baking' time.

The two things you'll need to do in advance are:  soak your cashews, and soak your dates.  The cashews for at least 4 or 5 hours (preferably overnight in the fridge though), and the dates for about 10 minutes or so.

But other than that it is just a whole lot of blending in the food processor.

Here is the recipe which I sort of pieced together from various sources online:

Crust:
  • 1 cup pitted medjool dates, soaked in water for 15 minutes, and then drained and rinsed.
  • 1 tsp lemon zest
  • dash of cinnamon
  • 1 cup raw almonds
 Filling:
  • 2 cups raw cashews, soaked overnight (or at least for 4-5 hours), and then drained and rinsed.
  • 1/3 cup of coconut oil.
  • 2/3 cup coconut milk (especially the 'cream' from the top of the milk)
  • 1/2 cup maple syrup
  • the juice and zest of one large organic lemon.
  • 1 tsp vanilla
  • 1 tsp sea salt
  • 1 tbsp wild blueberries (for colour, I'll explain later).
  • 2 cups wild blueberries (for sauce, again, see later).

So, make the crust first, obvs.

If you can't find pitted dates, just remove the pits yourself, it's dead easy.


Soak em for about 15 minutes in clean filtered water.


Drain them, and then give em a good rinse.


Then throw them in your food processor bowl.


Add about a tsp of lemon zest, and a small dash of cinnamon.


Blend thoroughly.


It should be a big sticky mess, kinda stuck together in a ball.


It's OK if some of the dates are still in largish pieces, as long as it's all sticky and goopy like this.
:)

Now, carefully REMOVE all the dates from the processor.  Scrape as much of it out as you can.

Just set it aside for now, and then put in your cup of raw almonds.


Now blend these by themselves until they are nicely chopped.


Once you've reached a pretty uniform and somewhat small-ish piece state, add the dates back in, and mix together until thoroughly blended.


Carefully spoon equal amounts into your containers, whatever they might be.  I used a greased (coconut oil) muffin tin, but I will not be doing that again.  Instead, I'd recommend what I will opt for the next time I make these, ramekins.  Heck, even bowls would be OK.  They just got a little messy in the muffin pan, if you had some good non-stick muffin liners, maybe that'd be OK too.

Anyway, press this 'crust' down hard with your fingers or a spoon or anything hard and unyielding.  I found the bottom of a parchment-paper-lined mason jar worked well.


And that's it for the crust.  You can place this in the freezer at this point, and it will help to firm them up a bit.

But then it's on to the 'filling'.

Your cashews should be nice and soaked by now, so take them out and give them a good rinse.


And then into the food processor.


At this point, you can unceremoniously just dump everything else in, except for the blueberries.

So, the lemon juice and remaining zest, the syrup, the coconut oil, coconut cream and milk, the salt and the vanilla.


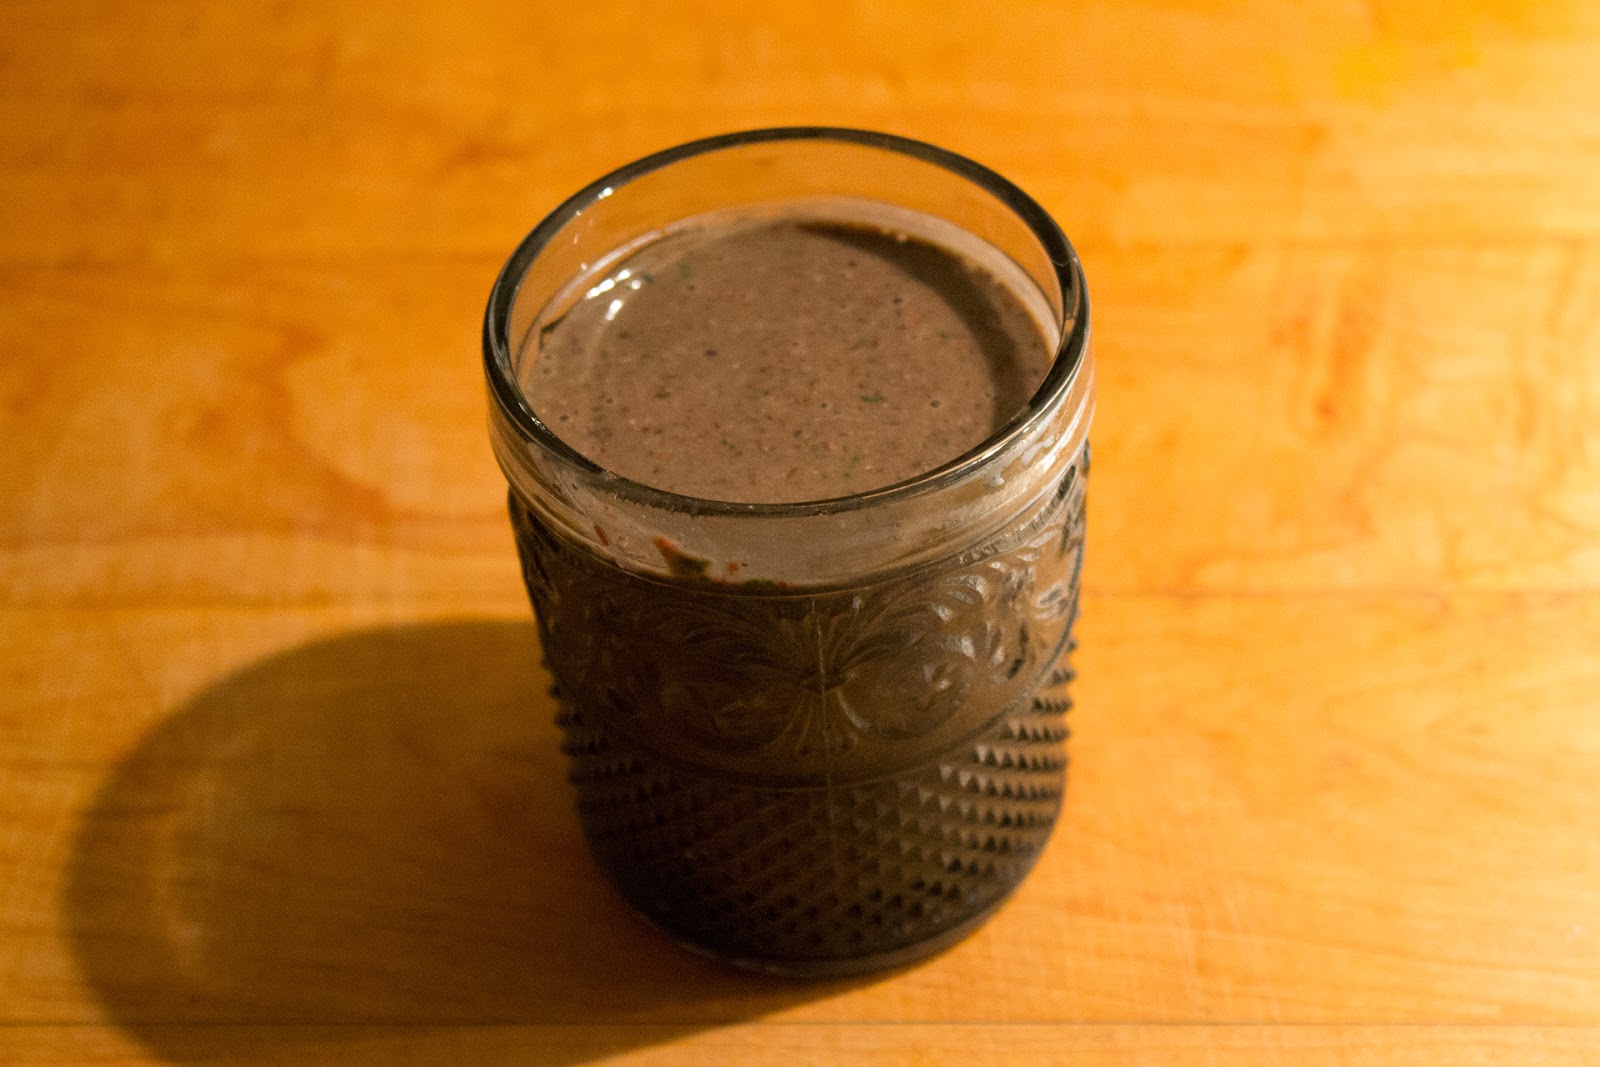
When I mixed this all together, I found that I didn't really LOVE the colour of the filling.  It was far browner than I thought.  I guess I should have expected as much from the cashews, but still...


So, what I did to fix this was to add a handful of blueberries at this point, to mulch them in there, and just for colour.

:)


The result was much prettier and "dessert-looking".


Yum!

Anyway, that's it.

Just pour this as evenly as you can amongst your crust-containing-containers (whatever those might be).


And then chill in the freezer.


These were kinda really, really hard to remove.  The well-intentioned parchment tabs you see did absolutely nothing, and just ripped off whenever pulled upon.  Like I mentioned earlier, I think next time I will use some ramekins as even muffin liners or papers wouldn't work too well I don't think... I dunno.

Anyway, they were still quite cute and attractive!
Here I've just sprinkled some blueberries on top, but I plan on making a nice compote or sauce the next time I serve these.  Something fruity, and sweet and spicy with maybe a hint of salt (and pepper... yes, pepper... fruit and heat go very well together!  Try it!!)


Anyway, it might behoove you to remove all these guys from their containers, while frozen, and then carefully bag them in freezer bags to go back in to the freezer.  It saves space in the freezer, and makes it easier to grab them later.

So... these guys are vegan and delicious in their own right.  I'm not sure that they come very close to approximating 'cheesecake', but then again, do they have to?

My thoughts are just that they shouldn't even try.  They're great on their own, and can be judged fully on their own merits, which are many.

They are high in calories (very high) but not totally unhealthy.  I mean, really they're just nuts and fruit.  :)

Anyway, you can let these guys thaw a bit before serving, but they are quite good frozen too! Especially on a hot evening!

I imagine future iterations of this will see some interesting and creative means of serving.  I see something with waffle cones maybe.  :)

Anyway, enjoy!  Whether you're gluten-free, vegan, vegetarian, flexitarian, or omnivorian, I'm sure you'll still find these guys quite delightful!

Wednesday, June 24, 2015

Deconstructed Braised Pork Chop Sandwiches

Well, folks, it's that time of week again; time for our once-a-week meat dish.

Tonight's meal is a delectable bone-in pork chop!

Yum.

Of the plethora of ways in which this chop could have been prepared, I opted for slow-braised on low heat in a tomato garlic sauce, and then served open-faced on a large slice of sourdough bread.

Why?

Why not?

No, really, I had originally planned to make pork chop sandwiches already several days earlier.  The plan had been to get a couple of small boneless chops which I could then butterfly and grill nicely, and then serve in sandwiches with some grainy mustard and fresh greens...

Although the butcher didn't have any boneless, they did have this gorgeous chop.  It was a little on the large size, and it would not butterfly, nor would it be easily shared or divided in two.

Not to worry though, I decided I'd just braise the whole thing and then it would be easy to pull it apart after cooking.

:)

So, first step as always, is to brown the meat.

I brought out my small cast iron pan, and cranked up the heat to high.  I coated the chop very lightly in avocado oil which has a high-smoke-point, something that is always a good idea when using high heat.

I seared the fat strip first for a minute, and then gave each side about a minute as well.  Then the chop rests for a bit, while I take care of the delicious gribblies it left behind in the pan.


Make sure to put partially-cooked meat on a cutting board with grooves so that you can catch all the juices and re-incorporate them at a later time!

Well, the heat turned down to medium-low now, I threw in about a cup of chopped onion, and another small splash of vegetable oil.


After tossing those about to make sure they got all the good leftover bits of pork and pork juice, those onions just sautéed for about five minutes, until they got translucent.

At which point I tossed in a fair amount of chopped garlic:


Don't really want to fry the garlic, so that's about it.  I turned the heat off and just moved those around a bit and let them cool for a minute.


Yum.

But, you know me... can't have those huge chunks of root vegetables interfering with the texture of my sauce.

No, no, no, no, no, and no. That just will not do.


I love my immersion blender so much.  It is probably my most used kitchen utensil.


There is the onion, garlic, and pork gribblies.  You have to agree that this looks so pretty!  But wait, it gets better:


Some tomato paste with a generous splash of a not-so-awesome pinot noir I had had open from the night before.  A bit of smoked sea salt and dried, crushed oregano as well.

But that gets stirred in and now you certainly must agree that this looks really pretty!


Anyway, my oven is preheated to 300°F (you can go lower even if you like, and have the time to spare), so I place the chop in there, and flip it over a few times to make sure it is nicely coated, and then make sure that it is fully covered with sauce.


At this point the hard part is over, just cover it with a lid or aluminium foil, and put it in the oven to braise.


Well, after about an hour and a half I was starting to get hungry so I decided to start wrapping things up.  I tossed some fresh asparagus in a light mixture of lemon juice, black pepper, sea salt, and a touch of vegetable oil, and then placed them in the oven on a baking sheet.


These of course only took about ten minutes, even at low-ish heat.

And, a few minutes before they were done, I decided to lightly toast the bread.


But it was time to call it.

Off goes the oven, out comes the pork to cool for a few minutes while I get everything ready.

Doesn't it look lovely?  I love braising meat.  It might just be my favourite way to have boney meats.


Anyway, to the plating.

First, the bread.


Oh so lonely.  But, not for long!

The sauce cometh.


Literally just spooned this on.  A little carefully, as I wanted to make sure it looked somewhat clean and pretty.

As I had hoped, braising the pork chop made the meat really tender and super easy to just pull apart with a fork, so it was really easy to divide that chop into two portions.

Of course I made sure to split the tenderloin piece as well!  It wouldn't be equal portioning without that, after all!


Mmmmmmm....

Kinda looks like a porkchop sandwich.

Anyway, the other reason I like braising bone-in meats, is that the meat just falls off the bone(s) so easily.  Look at all that was left from that chop:


Just the strip of fat, and then the chop bone.  

Anyway...

Although there are a good amount of veggies in that sauce, we can't forget the asparagus!


It provides a nice bright green splash of colour, but also a welcome texture change; crisp and tart in comparison with the soft and earthy mellowness of the meat sandwich.

Yum.


Yum!


Thursday, June 18, 2015

Vegan Organic Green Kale Smoothies

OK, so here's my favourite smoothie, and a step-by-step methodology for making it perfect.

First, a brief overview of the ingredients:

Organic Green Kale.


The star of this smoothie, Kale provides most of the good nutrition-power behind this mix.

Organic Almond Milk.


I like to get the unsweetened, unflavoured kind.  Really almond milk is kinda delicious all on its own.  We like this brand, of those commercial varieties readily available to us here, not just because it is tasty, but also because it is one of the few that does not contain carrageenan.

Organic Bananas


Part of the trick in getting away with not adding any sugar or sweeteners to something with this much bitter kale in it, is using bananas.  Bananas, particularly ripe ones, are really high in naturally occurring fructose, and more than balance the kale.

Organic Berries (Red Raspberries and Wild Blueberries)


Raspberries might just be my favourite food, but I certainly don't need an incentive to eat blueberries, especially wild blueberries.  Wild blueberries seem to have a sweeter flavour despite being actually a little more nutritive than their domestic cousins.
We like the PC Organics frozen bags.  They seem to be the best value (price/quantity) of all the organic berries we've seen around.  At least for now.

Organic Sprouted Flaxseed


This stuff is so good for you.  Like ridiculously good for you.  I don't include it for flavour (although it it pleasant and mild) but simply because it is really, really, really high in nutrients.  The sprouted variety is, actually, much higher in nutrients than just regular flaxseed powder.

That's it.

I could tell you more about how healthy this is, and how many nutrients are in this, but if you're interested I say just do some research yourself.  It's good.

:)

So, I'll just get right to the mixing of it!


Firstly, the whole smoothie can be ruined if the kale is not properly and sufficiently puréed.  So that's what needs to happen first.

Measure out 5 cups (compressed) of kale.


In case you're curious as to what that looks like uncompressed:


That's a lot of kale!

That gets pressed down (firmly, but ever-so-carefully!) below the levels of the blades of the blender.


This is important in order to ensure that the kale gets nice and chopped.

Add to that 3 cups of almond milk.


Also a lot, but it's the only liquid in here, and besides, it's good for you.


And then add 8 (heaping) tablespoons of the flaxseed powder. Yup, eight.  It seems like a lot, but because this pitcher makes 8 servings, that's pretty much exactly one tbsp per serving.


That's good enough for the first round of mixing.


I like to scrape the sides of the pitcher after blending, just to re-incorporate anything that might have sprayed up too high.

To this add 4 medium bananas, the riper the better.


This is where most of the sweetness of the smoothie comes from, so ripe really is necessary.  Do not try to do this recipe unless you have 4 medium or 3 large bananas that have naturally ripened to a nice mottled brown and yellow.  I say 'naturally ripened' because I've tried those tricks to hasten the ripening of bananas (bake in oven, or place in a paper bag) and don't recommend them.  The first (baking in an oven) actually really affected the flavour of the bananas, and the second (paper bag) just didn't seem to work fast enough.

Anyway, purée that on its own, and then measure out, and add, 2 cups each (4 cups total) of the raspberries and blueberries.


By now, if your blender is anything like mine, it is likely as full as you'd like it to be.

Blend generously at this point, for a good 30 seconds or so, increasing the speed incrementally higher if needed.


As a final step, I like to take the 'top blades' out of my blender (carefully scraping all the good stuff off of them) and then giving the whole thing another good mix using just the bottom blades.  It helps make the whole mixture nice and uniform in texture.


Mmmmmmmmmmmmmmmm!!!

So that should make just about exactly 2L of smoothie.

I actually went out and bought two pitchers JUST for smoothies.  One for me and one for the wife (she likes a slightly different smoothie).


Incidentally, these Sistema pitchers are excellent.  I looked hard for something that had a slim profile, small footprint, but could still hold 2L of liquid.  Plus they are BPA free, and completely dishwasher safe.

So... basically perfect.  If you're using them for liquids a touch more viscous than smoothie, the lid and spout work great and are vented so as to eliminate chug-and-glug pouring if you know what I mean.

:)

Anyway, I can fit BOTH side by side, almost perfectly in my fridge between the crispers:


Anyway, you can drink as much smoothie as you like, but I found 8 servings @ 250ml (1 cup) per serving to be a great portion.


Yum!

Anyway, this is not only a very healthy smoothie, but it is actually really, really tasty.  If you're new to kale smoothies, I recommend this, or at least some variety including bananas, as they really do complement (I hesitantly say, cover) the kale flavour beautifully.

Anyway... this is my favourite smoothie, but if you're into smoothies, (the healthy kind, nothing with dairy or sweeteners or anything, please) I would love to hear your favourite smoothies!

So please let me know!