Search This Blog

Monday, April 18, 2016

Homemade Pizza Sauce

Now to the main event.

This third installment of my "Homemade Pizza" series, is intended to show off my own perfected tomato sauce.  As I've mentioned before (and frequently) you can top your pizza dough with pretty much anything under the sun.

But, for a traditional, delightfully oregano-y and zesty-savoury-sweet pizza sauce... look no further than here!

Start with a soffritto.

Saute some onion in a bit of vegetable (avocado) oil. 


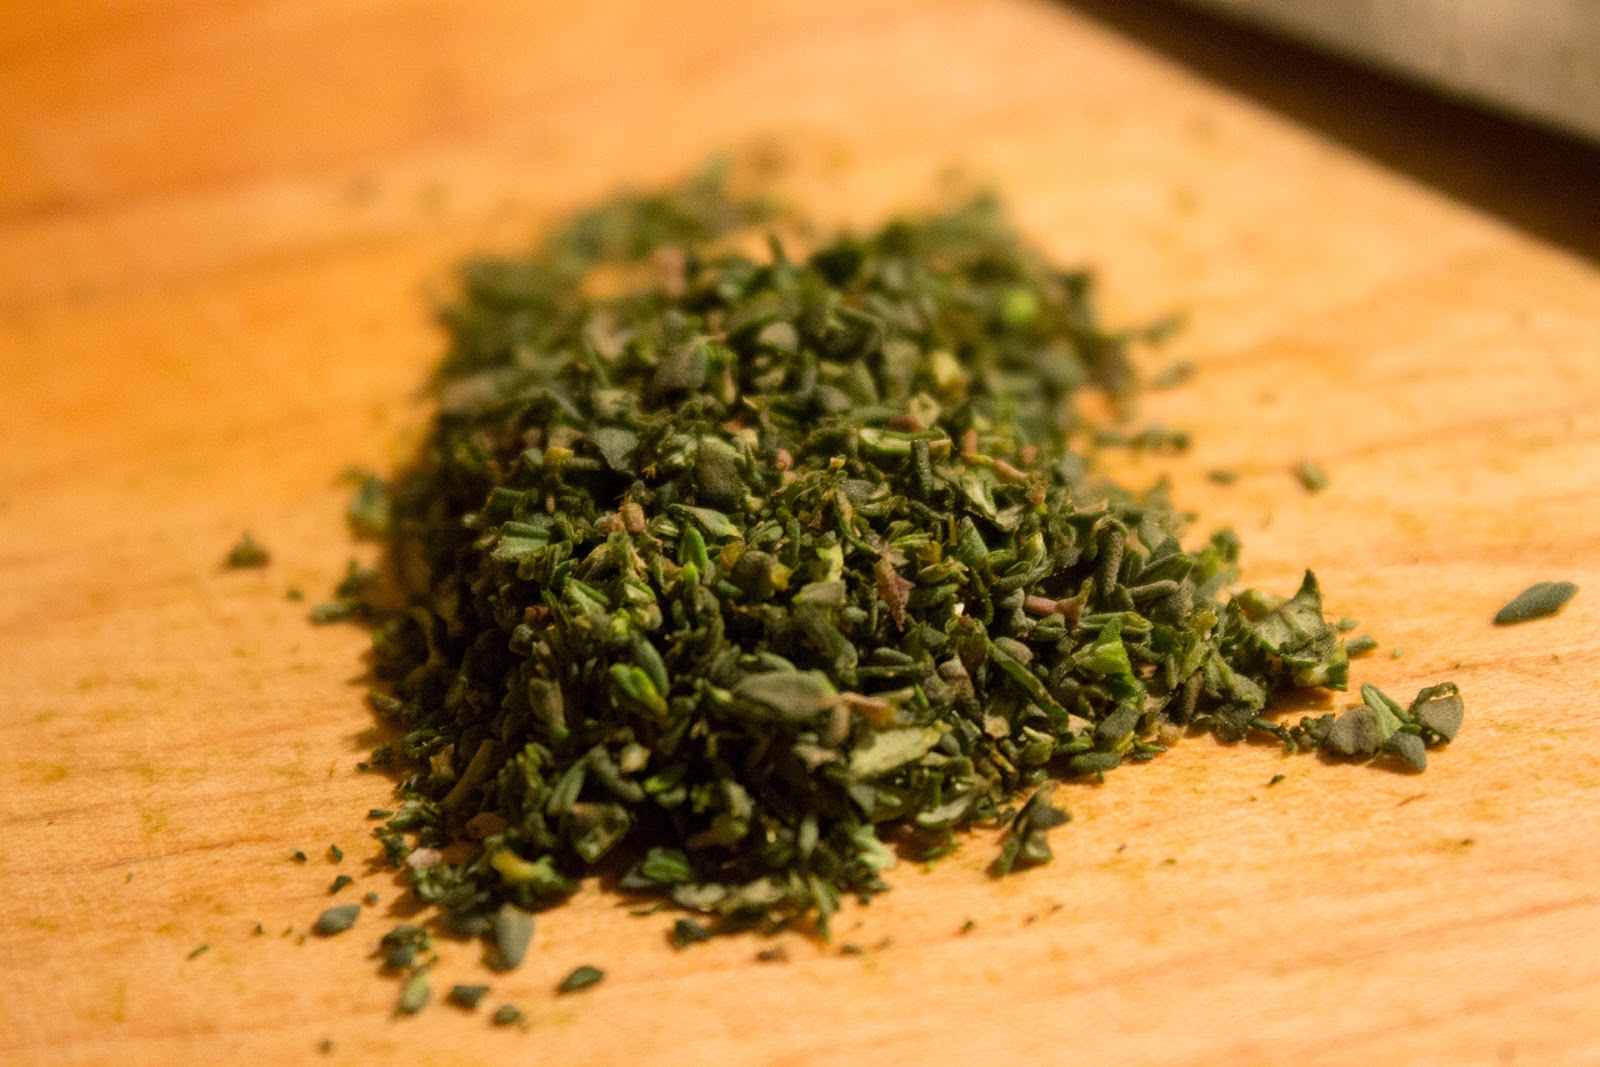
After about ten minutes add some whole garlic cloves, and some freshly chopped oregano and thyme.


Toss that about on low heat for another minute or two, then take it off the heat.


When the onion is soft and translucent, and the garlic has only browned slightly, it's done.

Take it off, let it cool if you want, but put it into a food processor and blend the crap out of it.

Add about a dozen roma tomatoes, whole (seeds, skin, and even the green bits on top if you want).


Blend, blend, blend.

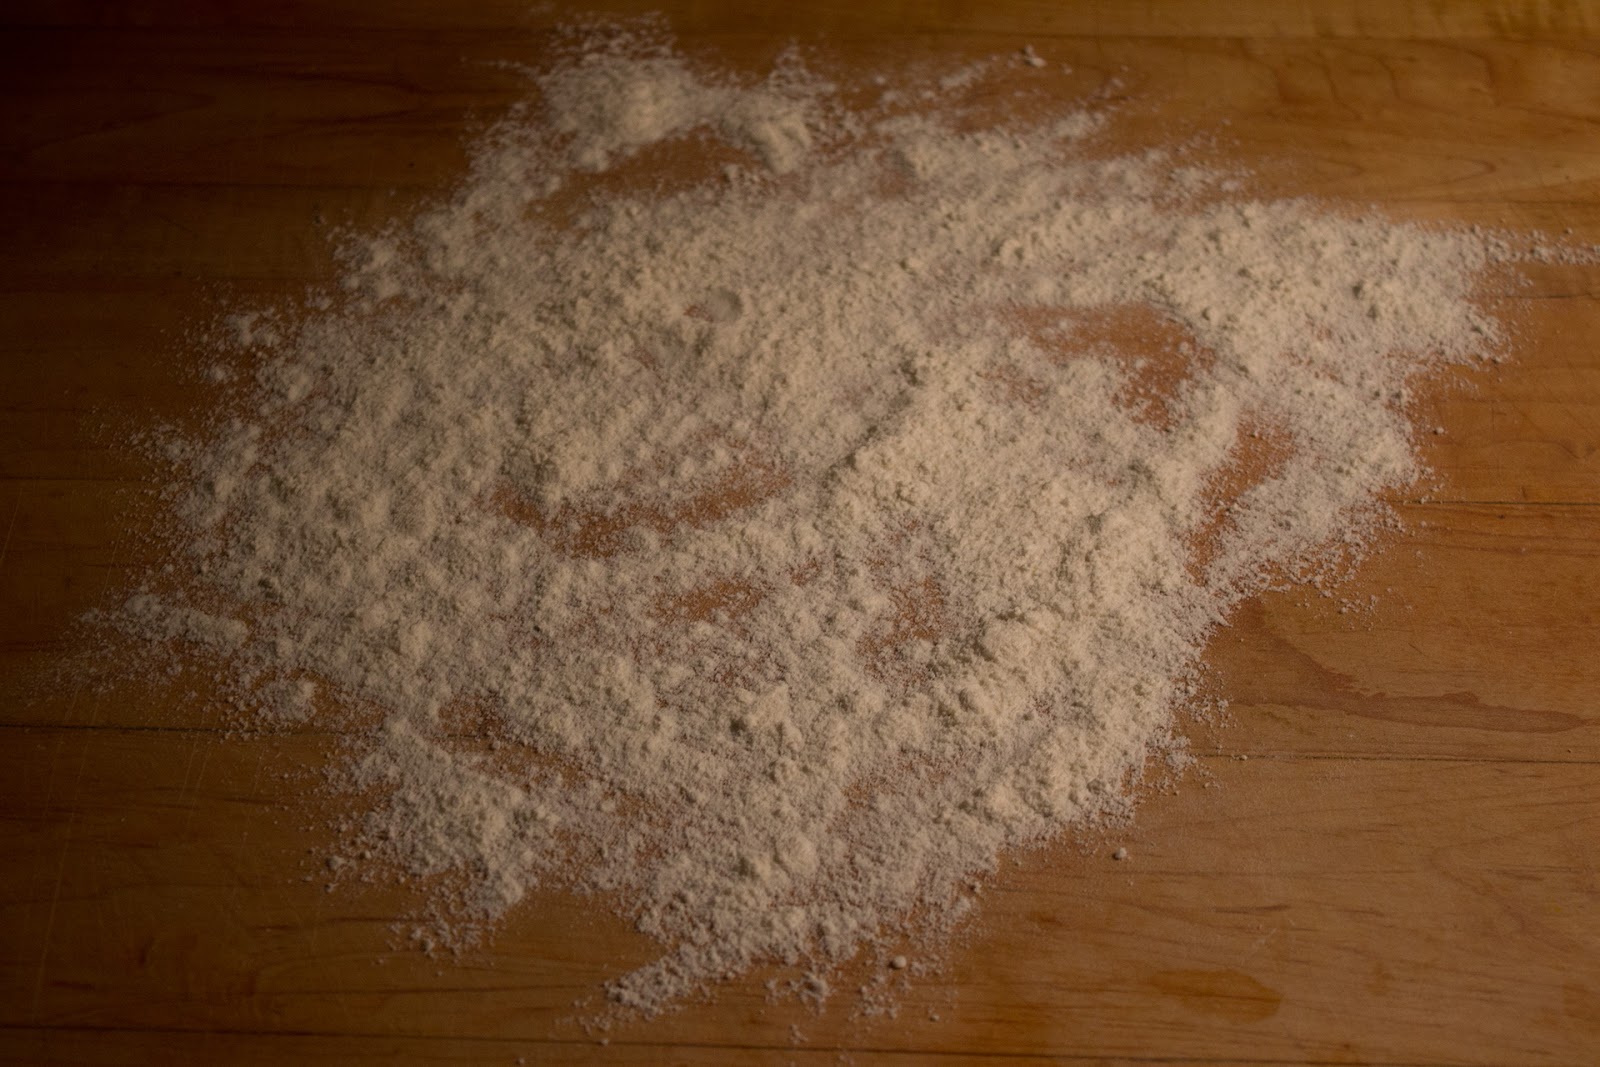
Add a generous spoonful or two of salt.  Sea salt is best, but if you've got a nice flavoured salt, feel free to go to town.

Myself, I have the perfect salt for pizza sauce:


Tarragon salt.

Anyway, after you blend the whole thing very well, it's good to get poured into a large saucepan.


At this point the sauce is quite runny.  Tomatoes do have a large amount of water, after all, even Romas which have some of the lowest water quotient of all the tomatoes.

So what I do is I boil it down for an hour or two.

Bring the mixture to a light blipping and bubbling, and then turn it down to low and place a splatter guard or mesh screen on top.  You don't want to preserve the water, so do not use a lid.  You want the water to evaporate, after all.


But if you neglect the splatter screen entirely, you better like your kitchen's new coat of tomato-red.

;)

You'll see a marked difference in consistency after even only a half hour or so.


But... I recommend going for a full hour or longer.

This results in a very nice, thick and meaty tomato sauce.


Mmmmmm!!!!

This is my pizza suace.

It's vegan, it's loaded with great veggies and nutrition, and it's intensely flavoured.  If you like umami, you'll love this sauce.

If you're looking to impress, say you've got company coming over and for whatever reason decided to cook them homemade pizza, I'd suggest using butter instead of vegetable oil for the soffritto (and cook it for longer on a lower heat, obviously).

But, you can't go wrong with this delicious pizza sauce!

Put it on top of whatever you like, flatbread, pita, or some of the homemade pizza dough you just made!

:)

Homemade Pizza Dough

So, most pizza pies start with the dough.

This is (usually) a bread product, so that means yeast, and a rise time.

But, this is not bread.  Pizza dough can actually be ready in a matter of about 30 or 40 minutes only.

Let's be clear here too... you can use any kind of flour you want.  Quinoa, Spelt, Rice, etc.  So you can get some pretty cool textures if you experiment.  Not to mention if you're gluten-free, you don't necessarily have to avoid pizza!

I like to use my food processor, but you don't have to.  You can do the traditional mixing of dry and wet together in a bowl and then turning it out to knead.

But I just like how easy it is to mix in the FP.  Especially for these 'wet' doughs.  I call them 'wet', but I don't know what the actual terminology is... they're stickier than a bread dough.  More water, less flour.

Anyway...


With any dough food processing, make sure you use your FP's plastic blade attachment (or bread hook, if you've got one).

So, pizza dough doesn't take nearly as long as most breads, and it involves a quick rise, from a warm proof.

Add a teaspoon of instant yeast and a teaspoon of sugar to 1 cup of warm water and let that 'proof' for about 5 minutes, or until foamy.


Combine 2 cups flour (your choice... 00 fino to all-purpose, any flour will do!) and a teaspoon of salt in the FP on slow speed.  


Once the yeast mix is ready, turn the speed on the FP up to medium-ish and slowly pour the liquid through the pour hole.


Keep processing until the entire thing starts to stick together and forms a soft ball.


Scrape the entire thing out on to a lightly floured surface and knead for a few minutes only.


Form into a ball and set in a warmed, lightly oiled, bowl.


Let that rise, covered, for about 30 minutes (room temperature).  If you're refrigerating the dough to be used the next day, leave it overnight.


Now comes the stretching.

This is usually where most people (myself included) run into problems.

The thing that I have learned is that you don't have to make it perfect.  In fact, you probably will not get the perfect ristrorante style immaculately round pizza pie shape.

So rather than try and make it gorgeous, I instead focus on evenness.  As long as it is even, it should bake well and uniformly.

If you've got a wood fired oven that's great.  But most of us don't.

The pleb way of baking pizza that I invariably employ is simply a light dusting of corn meal on a thin aluminum baking sheet.


I know I should invest in a pizza stone... but I just haven't gotten around to it yet.

Anyway, I pick up the dough with both hands, rip it in half, and then start pressing it with my fingers, letting it hang downwards all the while so as to let gravity do most of the 'stretching' work.

Then I set them on the baking sheet, and do some last minute pulling and pinching.

Like I said... not gorgeous.


But you know what?

It works.

Now... this is the pizza dough portion of today's funtimes.

Remember that this can be made using any kind of flour you want, including many gluten-free ones.

And remember that what comes next is limitless!  You can do the traditional tomato sauce and some mozzarella cheese, but you can absolutely go crazy here.  Drizzle with some and olive oil and rub it with garlic, add a few sprigs of rosemary.  Brush with egg and salt.  Make a white sauce and go for a pizza bianca... brown some butter and sage leaves and top with gorgonzola... 

I've even seen (and had, to my utter delight) things like mango chutney or glazed honey.  Both of which's sweetness pairs nicely with some sharp fresh cheese.

Anyway... my point is that I wanted to literally leave this post like this, to show what is in all actuality, a blank canvas for your pizza imaginations.

Enjoy!

Next, however, I will talk about my traditional, tried, and tested, Italian tomato pizza sauce.

Homemade Pizza

So... I love pizza.

A lot.

I try and have some sort of pizza at least once a week.

Yes, I actively try.

Otherwise I just get sad... and cry.

Anyway, I love it so much it surprised me to learn that in all the years I've been posting spatterings of my culinary forays, I don't think there has been a single mention of pizza.

That's just strange.

So, here goes.

Firstly, let me say that making your own pizza from scratch is not hard.

At all.

Maybe a bit time-consuming, but not excessively, and it doesn't have to be.

I usually let my tomato sauces reduce a fair bit, so that involves a cook-down period of about an hour or two.

But it's the kind of thing you can just let blip away unattended for this, so it's not labour-intensive.


Dough rising and sauce reducing.  It's the Magic Hour.

Secondly, let me say that pizza doesn't have to be unhealthy.

Vegetarian, Vegan, or even Gluten-free options are all attainable and can be highly nutritious.
Plus, if you make your sauce like mine, it will actually have a shit-tonne of high quality, super good-for-you vegetables.

Thirdly, let me say that there is no limit to the sheer amount of creativity, and virtually endless possibilities available in making your own pizzas.

To many options to list, in fact.  Basically, as long as it is pie-shaped, with some sort of topping or another, you may just have succeeded at creating a pizza pie.

:)

So, yah... that's that.

I thought I'd break "Homemade Pizza" into two separate posts, one for sauce, and one for the dough.

This should underscore the simplicity of the whole ordeal, while at the same time highlight the fact that you really can do this in so many different ways.


So, immediately following this general post on my talking about homemade pizza, look for Homemade Pizza Dough, and Homemade Pizza Sauce.

Until then, however, I can include a few pics of some finished products.


Mmmmmmmmm...

Thursday, April 14, 2016

Vegan Salad Bread Bowl

So I made... something... the other day.  For the most part, it defies categorization, but if I had to call it something, I suppose you could call it a 'bread bowl'.  Maybe you'd call it a salad?  Or even a deconstructed veggie burger maybe... I dunno.

Does everything need to be labeled something?

It was food.

And it was good.

Surprisingly good, actually.

The trick to putting new things together, especially vegan things, is to try and ensure complementary flavours and textures.  

A bowl of stewed lentils can be as delicious as can be, but on its own, runs the risk of becoming monotonous.  Just as some fresh veggies and lettuce without a crunchy seed or grain or nut of some sort, just ends up feeling... lost.

Well, like I said, I'd never made this before, but in my mind, prior to the making of it, everything seemed like it would go well together.

So I cooked it up.

What it is basically, is an open-faced lentil and tofu sandwich.... but here's the more involved deets:

A truncheon of bread (a quarter of a long Italian or French loaf, cut lengthwise), lightly grilled and brushed with olive oil and garlic like you would when preparing bruschetta.

Slather thickly with hummus.

Layer with copious amounts of lettuce (I used romaine, but I think boston leaf would have been excellent).

Top with grilled tofu slices and grilled grape tomato halves.

Finish the whole thing off with a generous topping of stewed black lentils.

Altogether it has a very earthy and almost meaty flavour, was very filling, and surprisingly yummy!

OK, here's some pictures of the step-by-stepping.

:)

I only started taking pictures half-way through this meal, because I didn't think it would be post-worthy at first.

Fortunately what is not documented with pictures, is pretty self-explanatory.

First I rinsed and soaked a quarter of a cup of dry black lentils, and then cooked them in about 3 cups of lightly salted water, until almost all the water was incorporated and the lentils were al dente (soft, but with a pleasing bite to the centres).

Next, I heated up my large cast iron grill.

First I sliced my bread, I wanted long truncheon style slices, remember, so I cut an entire half of a loaf in half lengthwise.  These I then brushed in olive oil and then grilled lightly, just long enough to get some nice brown grill marks on the bread.  Immediately after this I carefully but forcefully rubbed into the grilled sides about a clove and a half of garlic each.

If you've never done this before, it's actually kind of satisfying.  One minute you have toast and raw garlic, but after a minute or less the garlic has magically disintegrated and you are left with garlic toast!

Anyway... I put the toast truncheons on plates, and slathered them with a good amount of fresh hummus, and then a large amount of romaine lettuce.

Next I sliced one small (150g) package of silken tofu into 1cm thick slices, lightly brushed each side with a touch of avocado oil, and then carefully grilled them on the griddle.

Now... let me say... I don't really love tofu.  I prefer to get my protein from other sources (like pulses), but I had some, and I was bringing out the griddle anyway (grilled tofu is—to my mind anyway—
somehow better and tastier than other morphologies of tofu) so I figured why not...

It can be a bit of a pain to keep the tofu in one piece, but being put on a sandwich like this was, I figured it wasn't the end of the world if they ended up a bit crumbly anyway.

And here's where my photos have caught up.

:)


You can see that the tofu actually doesn't look that bad... almost rather attractive.  Love what grill marks can do!

After the tofu, I grilled some grape tomatoes.  After lightly washing them, I sliced them in half, brushed them in the tiniest bit of oil and salt, and then just added them to the hot griddle.


Incidentally I also grilled some carrots at the same time, just as a side dish (not on the sandwich thingies).


Grilled nicely in a bit of oil and salt, and then topped with some smoked paprika!


Mmmmmmmmm...

So, on to the sandwiches go those tomatoes.


Just haphazardly... no need for Pythagorean precision or anything...

And lastly, to top it all off, whenever your lentils have finished cooking, stir in a small pat of vegan margarine or vegetable oil, and some salt and pepper, as well as any spices of your choosing, really.


Adding a bit of fat (oil) to lentils is nice, and can dramatically transform them not just in flavour but also in consistency and texture.

I recommend it.  Vegan margarine works quite well, but if you really want to make them pop, try a bit of butter and/or cream.

Anyway... after cooking that in for a couple of minutes, spoon over your waiting truncheon thingies.

:)


Again... not too sure how to classify this dish, but I do know that it was:

a) delicious, 
b) nutritious,
c) well-balanced, 
d) easy to make, and
e) super vegan and good for you.


:D


Friday, April 8, 2016

I am a Norwegian Viking, and now I have the salt to prove it.

So... if you know me, or have read even a small amount of this stuff, you'll know that I don't like to buy processed things.  Typically I'm referring to boxed food or 'easy to cook' garbage that removes from the cook the experience and sensation of working with everything from scratch.  

The primary reason is stubborn pride; I believe I can do a better job of making anything than a large food corporation can.  But a wonderful side effect is that it makes my food healthier by using fresh and natural ingredients.

Anyway... this even extends to things like spice blends.

Ever since I was like 21 and looked at the back of a 'chili powder' jar, realized it was just a mixture of pepper, onion, garlic, cumin, and oregano, I said 'screw this noise' to all spices that weren't just single ingredients, and started keeping my own 'blends'.

Indeed, now my spice drawer contains at least a half dozen different blends at any given time.

However...

I was at a really pretentious grocery store the other week, I won't say which, but I will say it's a chef's own grocery store.  I don't know if that means it is curated by said chef, or what, but other than being ridiculously over-priced, and not having a jot of organic produce, it actually is a decent store.

Particularly if you're into jars of stuff.  You know what I mean.  Jars of like pastes and tapanades and stuff... Products which can be surprisingly hard to find in your local supermarket chain.

Well... most of that stuff I steer clear of; reference afore-mentioned penchant for making things from scratch.  But some things are just too hard (or inaccessible) to make yourself.  So, some of the products I buy in this form are things like harissa paste, truffle butter, anchovy paste, olive tapanade, etc.

Stuff which can still be relatively natural or pure (always read labels people), and which actually can store in my fridge for long periods of time.

Anyway... I was browsing their extensive selection the other week, and came across a SALT blend.

Now, remember that I make my own salt blends... and I'm quite good at it.  So my first inclination was to just read the ingredients, and then emulate it myself at home.  Something which I am also kinda good at.

But something about this product changed my mind.

Perhaps it was simply good marketing on their behalf.  Perhaps it was a deep inner calling to my Norwegian ancestry.  Who knows.

The bottom line is that I bought a $10 jar of something simply—yet also, strangely, austerely—named: Viking Salt.


To be honest, the packaging IS quite attractive.  Minimalist and yet elegant.  But immediately upon picking it up to take a closer look, the first thing I noticed was how French was the dominant language placement.  Delving closer, it actually is a product of France.

I mean, it says Norvège, rather than Norway on it.  That's cool.  Plus (in typical French fashion) all the french text is in beautiful scripted fonts... and then the obligatory English translation is there in shitty, bold serif font... almost as an afterthought.

:)

Anyway... I liked it.

Certainly enough to pick it up and read the back.


Again, noticing that English was given secondary concern, I read the french description first, and was intrigued and swept-away with notions of ancient and long-forgotten Viking recipes (heh heh heh... great marketing job, guys!) and finally I read the ingredients.

Fairly simple, and sure I could emulate this at home... but something compelled me to buy it nonetheless.  I don't really keep dehydrated onion anyway... so why not?

Well... I have to say this stuff is beyond delightful.

It makes everything taste like magic.  It has a very warm, mildly and pleasantly pungent flavour that is far closer to 'umami' than to 'salty' in taste.  As such, it goes well on pretty much everything, but some clear favourites so far have been green veggies, eggs, and cooked grains, cereals, and pulses.

Bear in mind that I don't really even put salt on a whole lot of things.  I was raised in a virtually salt-free environment, so my tastes for salt have evolved slowly and gradually over time, and I would say I am still very much an infrequent salt user.

But, I highly recommend this product.  While I still have some in my possession I will be trying to mimic it and attempt a version of my own. 

Vraiement, je suis dĂ©solĂ©, Terreexotiquemais je ne peux pas justifier le coĂ»t rĂ©gulièrement. Ne prenez-le pas personnellement, je fais cela avec tous les produits que j'aime.

Although... I worry that if you're weak and not a Viking like me, it just won't taste as good.

Just sayin'...

;)

Wednesday, March 30, 2016

An Even Better Way to De-Stem Thyme

So, how crazy is this?

Less than two weeks ago I posted an entry titled: "How to De-Stem Thyme".


In it, I complain about the time-consuming woe that is getting fresh thyme leaves separated from their woody, tough, stems.

I thought I had come up with a relatively decent methodology, and I mean, it works, but nowhere NEAR as well another technique I just learned today.

Today, in my inbox folder labeled 'food stuff', I received yet another of the multitudinous email newsletters from food sites and blogs to which I subscribe.

This one, from one of my lesser-liked sites if I'm to be honest, had right at the top of the page a link to an article entitled, "The Easy Trick to Getting Thyme Leaves off the Stem".

So, disbelieving as I am often wont to be, I hesitantly clicked the link, read the article and watched Epicurious' much-nicer-than-mine video.

Well... heck.

I'm never adverse to completely throwing away an old methodology, as long as a better one comes along, and so I happily and heartily give a shout-out to Epicurious, and apparently to the source, Erin Ireland from To Die For Vancouver (itstodiefor.ca).  A site which, after only moderate perusal, I shall have to add to my ever-lengthening list of resources.

:)

So CLICK HERE to link to Epicurious' re-post (and slight tweaking) of Erin Ireland's brilliant idea to feed thyme twigs through a fine screen.

Personally my 'fine mesh screen' is WAY, WAY too fine for a thyme stem, but I did try this technique with a relatively finely holed colander that I have, and I have to say it worked extremely well.

So well, in fact, that I am chagrined for not having thought of this simple trick myself.

:(

Oh well, I'm still happy with the take-away from this experience, which is that I now can enjoy copious (COPIOUS!!!) amounts of fresh thyme, in half the time.

Saturday, March 26, 2016

Gnocchi in a Garlic Blue Cheese Sauce

This one is kind of  a cliche if you ask me.

It seems most mid-range Italian (or pseudo-Italian) restos will have this on their menu.

Often as one of their only vegetarian dishes... which is weird in my opinion.

Anyway, while I am a huge fan of the blue cheeses, and garlic cream sauces in general, I am actually not all that fond of gnocchi.

I'm not a full blown hater or anything... I mean they're potato dumplings made into noodles!  That's delicious, right?

Well, yes and no.

In my opinion (which, you've come to know intimately by now) I'm all about the texture of a dish.

A velvety pasta sauce with an al dente durum egg noodle is fantastico... but the same soft and subtle sauce with an equally soft, tender, almost pillowy dumpling... it's almost frustratingly monotonous.

You know when you listen to something monotonous for so long it actually starts to drive you a little nuts?  That's kind of how I feel at the end of a bowl of creamy gnocchi.

My preference for gnocchi pairing is a nice thin and tangy, very minimalist pomodoro sauce.  It keeps the texture all down to the gnocchi without any other textural-based interference.

Anyway... that's just me.  Many, many, many people positively adore gnocchi in a smooth, rich, cream or cheese sauce.

And for some reason, gorgonzola and other potent blue cheeses, are often paired with it.  If I had to guess it is because the gnocchi by itself is actually fairly bland, flavour-wise.  So pairing it with something very powerful is often a favourable contrast.

Well... that's enough of my own personal suppositions on the etymology and history of Blue Cheese Gnocchi.

The take-away here is that sometimes I do cook it for the wife, because she lurvs it.  She had a craving for it, so I went out and bought some gnocchi and a brick of french bleu.

And here's how I make the traditional gnocchi in blue cheese cream sauce you'll find at startlingly many restaurants all over North America.


First thing right off the bat - you CAN make a low-fat version of this dish.  It involves reliance on nut milks and vegetable oils, and can be fairly decent.  I myself make an almost vegan version of this (I refuse to use 'faux' cheeses... if I want a full-on-vegan sauce, I just omit the cheese entirely for a "Vegan Cream Sauce" rather than try to fake a 'cheese' sauce.) that is quite good.

But...

This is not that version.

This is the full-fat version you'd find at a restaurant because that's how you wow people with flavour and have them leave content and impressed.

:)

So don't balk at the amount of dairy.

Just share a bottle of a nice Tempranillo Rioja along with it to help digest all those fats, and you'll be fine.

:)

That's my strategy... one that I've adopted from the French.  Whenever I have a meal high in saturated fats, I almost always drink a couple of glasses of red wine with it.  It really helps digestion, and I swear (this may be psychosomatic, I dunno) it helps me feel lighter and less weighted down after such a rich meal.

Anyway... you probably already do this, but if you don't, then I recommend you try this.

Begin with a buttery soffritto.


This particular one is simply white onion and garlic.


Then I do what most cooks do not.

I puree this soffritto.  Reference above-mentioned focus on textural elements; this sauce is supposed to be extremely smooth and velvety, we don't want an errant onion chunk to throw off that consistency.


Add a cup of cream.

The MF% can vary according to your desire here.  I wouldn't recommend going up to whipping cream (33%), but I have made some cream sauces with table cream (18%) that are just delectable.

I also wouldn't recommend going much lower than 5% (half and half) or 3% (homogenized milk) either.

The thing is, the more dairy fats in the sauce, the easier it will be for the cheese to become incorporated (melt into the sauce uniformly).  If you've ever tried to melt butter or a high-fat cheese into skim milk you'll know it's really hard on its own.  Trying to mix polar and non-polar liquids is trying (layman's terminology: oil and water do not mix).  It can be done (like with the help of a roux or some dissolved corn starch...) but really it's so much easier to dissolve your fats into something which can absorb it.

So, for company, dinner parties, or when I really want to impress, I'll use a litre of table cream, but for most purposes homo milk (3% milk) works well for my purposes.

So, I just blend in a cup of cream (milk) right into the puree mixture.


If your cream (milk) is too cold, you'll run the risk of turning the butter into solids, so it's a good idea to let it get to room temperature before mixing it in.

Now... that's the flavour munchkin right there.

Before adding that back to your pan... we want to first make a roux (if you want a gluten-free recipe for this, which is actually half-way there already with the use of potato instead of wheat noodles, you can omit the roux, and just opt for less butter and a thicker cream instead... cook that down for a few minutes and it will still thicken nicely).

So, some more butter.  Melted over medium-low heat.


Then a generous spoonful or three of flour (depends on how much sauce you're making, or how thick you want it).  It doesn't have to be super specific... you can always balance it out later, and because it's much easier to just thin out an overly-thick sauce with a bit more liquid (cream/milk) I usually opt for a thick roux right out of the gate.


Whisk that in and then let it simmer for a few minutes, until the flour gets a nice light-golden colour.


Then carefully pour your cream/milk/soffritto mixure in.

Now, you shouldn't have had this roux cooking at a very hot temperature, but if you did... stand well back when you pour this in, cause you'll get some splattering.

In fact, it's a good idea to just always be mindful when mixing a cold liquid to a hot liquid. 

Unexpected culinary spatterings can be dangerous, after all!

:)

Anyway, it should have been on low temperature and the two mixtures should incorporate well, and quickly.  In fact, after you've whisked it in and turned the heat back up a little to, say, medium heat, the thickening should begin.


I love this point in making sauces.

The white sauce.

So, so, so many sauces get their start from this humble beginning.

Look at that smooth texture and the glossy (almost brilliant) sheen!

Yum!

Anyway... I'm going to mix in a few fresh green herbs first.

Fresh and finely chopped thyme, basil, and scallion tops.  For a quick and dirty tip on de-stemming thyme, check out my previous post with an included video!


That should tilt the flavour nicely towards where we want it, because honestly everything in this sauce is going to play second fiddle to the blue cheese.  The cheese is so dominant in flavour, it's going to hit heavy and hard right when it touches your tongue.  But after a few mouthfuls, you'll start picking up on some of these subtle, ultimately complementary, ancillary tastes.

Anyway, without any more preamble, let's introduce the star of tonight's dish.


Tonight we have an exceptionally bold French cheese, "Bleu D'Auvergne"

Mmmmm...


Look at that flavour!!!

Hoh man.

Anyway, it was pretty strong stuff, so I just put in half to start out.


It took less than a minute of gentle stirring for it to blend in nicely, and after a quick pinch of sea salt and freshly ground pepper, I deemed it was perfect.


So, boil some gnocchi (for a very, very short period of time... like 2 minutes).


Plate, pour, and serve.


Mmmmmm...

If you love the pillowy soft, pungently-strong combo of gnocchi and blue cheese, this dish is comforting, warming, and extremely filling (those are dumplings made from potatoes, after all!)

:)